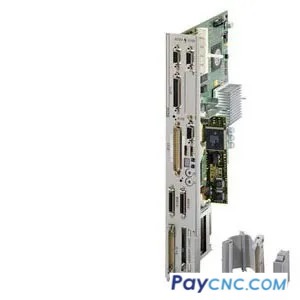
How to replace Siemens 840D NCU Module Battery?
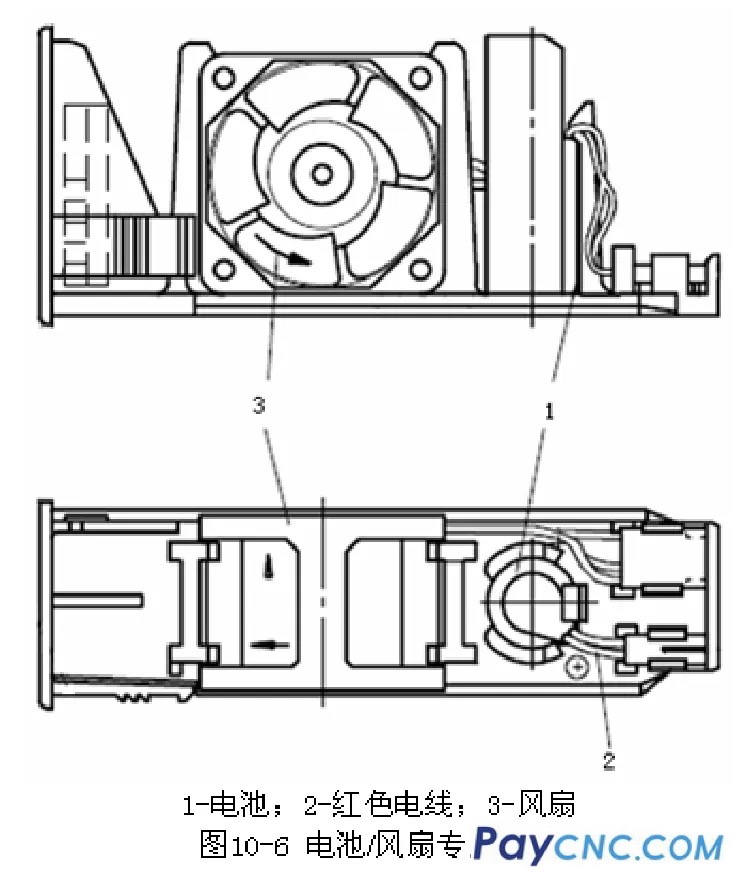
The machine tool data on the NCU module of the 840D system is also maintained by the backup battery in the case of power failure. The life of the backup battery is at least 3 years. Unlike the 810D system, the backup battery is installed together with the NCU cooling fan to form a battery/fan dedicated module, which is located under the DC bus bar. The order number of the battery/fan dedicated module is 6FC5 247-0AA06-0AA0, and the battery order number is 6FC5 247-0AA18-0AA0. The battery/fan dedicated module in the NCU box can be replaced when the system is powered off, because the internal capacitor can support 15 minutes, so that the content in the SRAM will not be lost. The following figure shows the battery/fan dedicated module.
The steps for replacing the battery/fan dedicated module are as follows:
1) Turn off the system power.
2) Remove the battery/fan dedicated module. There is a ratchet under the module. Lift the ratchet upward and pull it forward at the same time to remove the module.
3) Install a new module within 15 minutes.
4) After the system is powered on and started successfully, there should be no battery alarm information.
Operation unit battery replacement
The operation unit unit MMC101/102/103 or PCU50 motherboard has a backup battery with the same order number as the 810DCCU module, which is used to provide power to the hardware clock and maintain the BIOS setting data. If the battery voltage is too low, the data on the control unit motherboard will be lost. Since the clock consumes less power and the capacity of the lithium battery is large, a lithium battery can be used for 8 to 10 years. The steps for replacing the backup battery are as follows:
1) Turn off the power, remove the power cable, and loosen all internal connection cables.
2) Open the operation panel box, pay attention to electrostatic sensitive electronic devices to prevent static electricity from destroying electronic devices.
3) Loosen the battery fixing, unplug the battery plug from the motherboard, and remove the battery.
4) Install the new battery, pay attention to the polarity of the battery.
5) Restore the operation panel box, and the battery replacement is completed. |
